I’ve been doing some reading the last few months on common maintenance tasks for these amps and have seen multiple places state that the filter capacitors should be changed every 10 years or so. The capacitors in this amp were still the original set, so some new ones were certainly in order.
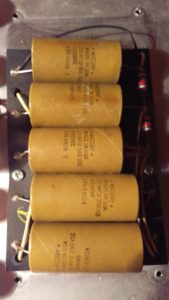
The amp had paper Mallory capacitors installed. 2 70-uF 350VDC and 3 20-uF 500VDC. I was having difficulty finding replacement capacitors at the exact same ratings and, after some research and what probably amounts to way too much toiling over this detail, I ordered what seemed to be acceptable replacements. 2 F&T 100-uf 350VDC and 3 F&T 22-uf 500VDC capacitors. There appears to be quite a lot of debate around the ideal brand of capacitors that should be used for these amps. Sprague Atom, F&T, Ruby, and Illinois come up quite a bit. Sprague Atom’s seem to be popular because their size more closely matches the size of the original Mallory capacitors. They are also decently more expensive. After I saw a few forum posts indicate that if you cut a Sprague Atom capacitor cut in half you would find that the extra space served no real purpose beyond making the capacitor look larger, my mind was made up and I opted for the less-expensive (and physically smaller) F&T capacitors. The Sprague Atoms may sound a whole lot better. I really wouldn’t know unless I found a way to easily alternate between both and listen to the differences. Perhaps this is something I’ll be able to experiment with later.

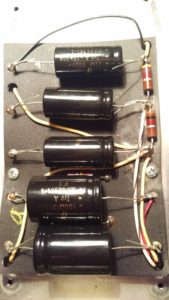
The only bump we really hit in replacing the filter capacitors, is that it wasn’t clear by looking at the originals where the solder points should be. We experimented with pulling the entire capacitor out, but realized that underneath the black pad there were wires connecting the capacitors directly to each other. I’m not sure if this is the “right” way to do it, but what we ended up doing was cutting the existing capacitors out and leaving a “post” from the originals in place. We then soldered the new capacitors to our “posts”. I’ve since looked at photos of amps with new filter capacitors installed and am still unable to determine the technique that was used to attach the capacitors. This is something I still need to figure out and I’m certain that a well-placed forum post would yield no less than 3 conflicting responses :).
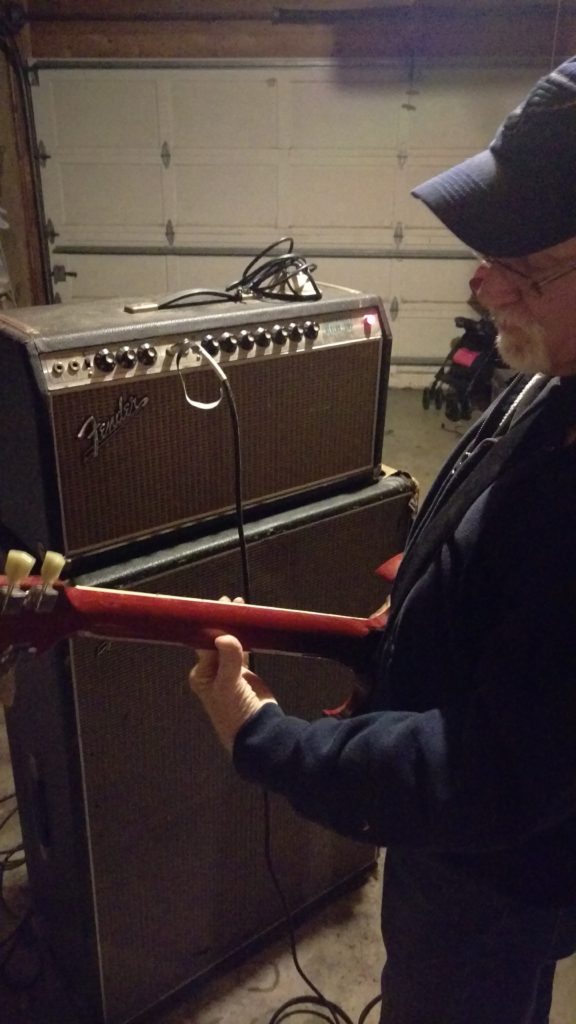
Once the new capacitors were soldered in, we hooked everything up and… sound! I was expecting noise. I thought once we turned it on we would get crackling, distorted, in-and-out noise but the actual sound was very clear and I had to try and listen for static if the guitar was completely off. The tone was clean and strong with nice present highs and decently full lows. The mids felt a bit under-served to me, but that could have been due to the cabinet or the speakers. We mostly played the amp at a 3, and found that it started to break at about the 5, which is a tad disappointing because I’m not sure how often I’ll have the opportunity to take it up that loud.
The only real issues we discovered were that all the knobs were scratchy, the reverb isn’t functioning, the plug had the ground pulled out of it, and one of the speakers in the original cabinet seems to be out. We put cleaner in the pots for the knobs which seemed to help out quite a bit and I’ll be researching the other issues in the coming months.
I think the next major item I’ll try to work on will be learning how to bias the amp correctly.